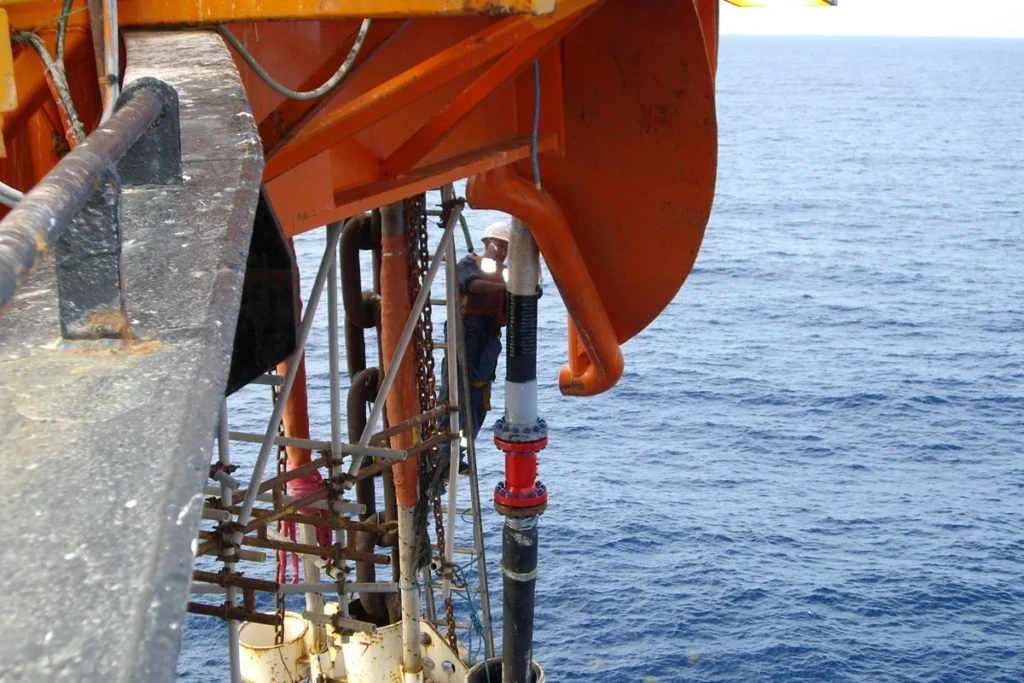
Sandblasting is a widely used technique for cleaning, polishing, and surface preparation in various industries. The sandblast hose plays a crucial role in this process, as it connects the blasting equipment to the nozzle, delivering the abrasive material at high pressure. Over time, sandblast hoses can become worn, damaged, or develop leaks, compromising the efficiency and safety of the operation. This article provides a comprehensive guide to sandblast hose replacement, offering step-by-step instructions to ensure smooth operations and prevent potential hazards.
Replacing a sandblast hose requires proper safety precautions and careful steps to ensure a successful replacement. Here is a general guide to help you with the process:
- Gather the necessary tools and equipment:
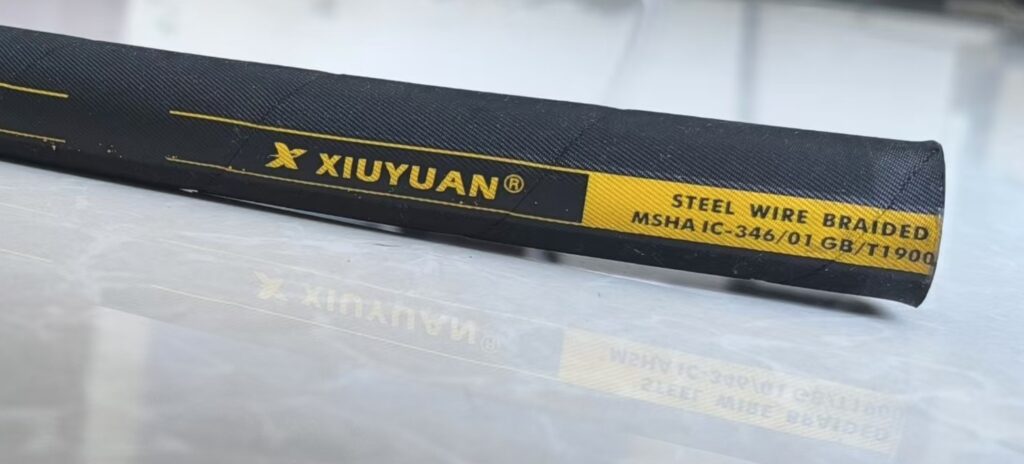
- New sandblast hose: Make sure it is the correct length and diameter for your sandblasting setup.
- Hose clamps: These are used to secure the hose connections.
- Safety gloves and goggles: Protect yourself from any abrasive material or debris.
- Prepare the work area:
- Turn off the sandblasting equipment and release any pressure from the system.
- Ensure the work area is clean and free from any debris that could interfere with the replacement process.
- Disconnect the old hose:
- Loosen and remove any hose clamps securing the old hose to the sandblasting equipment or nozzle.
- Carefully detach the old hose from the sandblasting equipment. Depending on the setup, you may need to use a wrench or pliers to loosen the connections.
- Inspect the connections:
- Examine the fittings on the sandblasting equipment and nozzle for any signs of damage or wear. If necessary, clean or replace them.
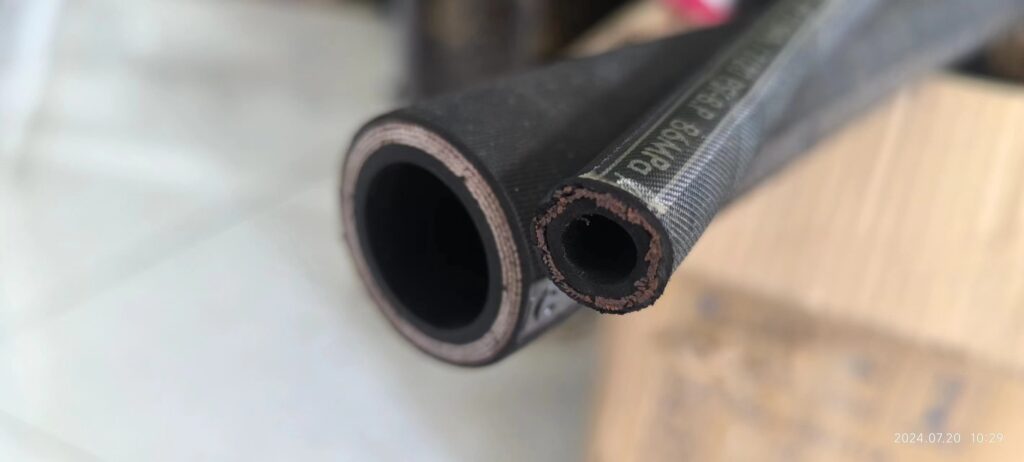
- Measure and cut the new hose:
- Measure the length needed for the replacement hose, ensuring it matches the original hose or any required modifications.
- Use a sharp knife or hose cutter to make a clean, straight cut on the new hose.
- Attach the new hose:
- Slide the hose clamps onto the new hose, ensuring they are positioned to connect to the sandblasting equipment and nozzle.
- Attach one end of the hose to the sandblasting equipment, making sure it is securely tightened.
- Attach the other end of the hose to the nozzle, again ensuring a tight connection.
- Secure the hose connections:
- Slide the hose clamps over the connections and tighten them using a screwdriver or wrench. Make sure the clamps are tight enough to prevent any leaks but not so tight as to damage the hose or fittings.
- Test the new hose:
- Turn on the sandblasting equipment and conduct a test run to check for any leaks or issues.
- Inspect the hose connections while the equipment is running to ensure there are no leaks or abnormal vibrations.
Replacing a sandblast hose is a crucial maintenance task to ensure efficient and safe sandblasting operations. By following the step-by-step guide outlined in this article, you can assess the need for replacement, gather the necessary tools, install the new hose correctly, and perform the required testing. Remember to conduct regular inspections and promptly replace worn or damaged hoses to maintain optimal performance and minimize potential risks.